

Building a professional website used to require extensive coding knowledge, mastering languages like HTML, CSS, and PHP. However, the landscape of digital web development has evolved. Today, drag-and-drop page builders have completely democratized the process Among these tools this elementor beginner tutorial will show you why it stands as the absolute king of WordPress web design.
Whether you are starting a digital marketing hub, an e-commerce store, or a personal blog, Elementor allows you to craft pixel-perfect layouts visually. But for beginners, opening the Elementor editor for the first time can feel overwhelming with its array of sections, columns, and widgets.
This comprehensive, step-by-step tutorial will guide you from a total beginner to a confident designer. We will cover everything from initial setup to intermediate design techniques and advanced features.
What is Elementor? A Complete Elementor Beginner Tutorial
At its core, Elementor is a visual, live page builder plugin for WordPress. “Live” means that as you drag elements onto your screen and edit text, you see exactly what your website visitors will see in real-time.
Why Millions of Developers Choose Elementor:
- No Coding Required: You can build headers, footers, landing pages, and complex dynamic layouts without writing a single line of code.
- Complete Design Freedom: Unlike standard WordPress themes that lock you into rigid structures, Elementor gives you control over every margin, padding, color, typography scale, and alignment.
- Massive Ecosystem: Because of its immense popularity, there is an enormous community offering pre-made templates, add-ons, and tutorials.
- Built-in Responsive Design: It includes dedicated viewports to ensure your site functions flawlessly on desktops, tablets, and mobile devices.
Prerequisites: What Do You Need Before Getting Started?

Before installing Elementor, your core WordPress infrastructure must be properly set up. Think of WordPress as the engine of your car, your hosting as the fuel, and Elementor as the beautiful exterior bodywork.
1. Reliable Domain and Web Hosting
To ensure your website loads instantly, you need top-tier hosting. For business blogs and e-commerce stores, platforms like Hostinger or Bluehost are highly recommended. They provide optimized server environments, free SSL certificates, and one-click WordPress installation.
“You can check our full webglobaldigitalhub guide on how to pick a domain.”
2. A Lightweight, Optimized WordPress Theme
While Elementor can override theme designs, it still relies on your theme’s fundamental structure. Using a bloated theme will slow down your server response times. For the ultimate setup, install a lightweight theme like Astra, GeneratePress, or Elementor’s native Hello Elementor theme. These options keep your code clean, letting Elementor handle the heavy visual lifting.
Step 1: How to Install Elementor (Free & Pro)
Getting Elementor onto your WordPress site takes less than two minutes.
Installing Elementor Free
- Navigate to your WordPress Dashboard.
- Go to Plugins > Add New.
- In the search bar, type Elementor Website Builder.
- Click Install Now on the official plugin by Elementor.com.
- Once installed, click the blue Activate button.
Upgrading to Elementor Pro
While the free version is highly capable, serious professionals upgrade to Elementor Pro to unlock core commercial features like the Theme Builder (for editing global headers/footers) and the Form Builder.
- Purchase a license from the official Elementor website.
- Download the Pro
.zipfile from your Elementor account dashboard. - In WordPress, go to Plugins > Add New > Upload Plugin.
- Choose the downloaded zip file, install, and activate it.
- Click Connect & Activate to link it to your license account.
Step 2: Understanding the Elementor Interface
When you click Edit with Elementor on any WordPress page, you enter the dedicated workspace. The screen is divided into two primary zones: the Left Sidebar Panel and the Right Live Preview Area.
The Core Layout Hierarchy: Sections, Columns, and Widgets

To build layouts successfully without breaking your design, you must understand Elementor’s structural hierarchy:
[ SECTION (The Main Container) ]
  ├── [ COLUMN 1 (Vertical Split) ]
  │     ├── Widget (Heading)
  │     └── Widget (Text Editor)
  └── [ COLUMN 2 (Vertical Split) ]
        └── Widget (Image)
1. Sections (Blue Border): This is the outermost container. It spans either the full width of your page or stays boxed. Sections break your web page down horizontally into distinct blocks (e.g., Hero section, Features section, Contact section).
2. Columns (Black Dotted Border): Columns sit inside Sections and split them vertically. You can have a single-column layout, two side-by-side columns, or multiple columns to organize diverse pieces of content.
3. Widgets: These are the actual functional elements you drop inside your columns. Examples include Headings, Images, Text Editors, Buttons, Video players, and Spacers.
The Elementor Sidebar Tabs
When you edit any section, column, or widget, the left sidebar changes to show three essential configuration tabs:
- Layout / Content Tab: This handles the core data. For text widgets, it’s where you type content; for image widgets, it’s where you upload files; for sections, it defines column structures.
- Style Tab: This controls the visual appearance. Here, you adjust background colors, image opacities, typography fonts, font sizes, text alignments, borders, and hover effects.
- Advanced Tab: This deals with structural positioning. This is where you configure custom Margins (outer spacing), Padding (inner spacing), Z-index layering, entrance animations, custom CSS, and responsive visibility settings.
Step 3: Building Your First Page with Elementor (Step-by-Step)
In this practical section of our elementor beginner tutorial, let’s walk through creating a highly engaging homepage hero section from scratch.
Phase 1: Set Up Your Page Canvas

- Go to Pages > Add New in WordPress.
- Title your page “Home” and click Edit with Elementor.
- By default, your theme’s header and footer will display. If you want a completely blank canvas for a landing page, click the Settings Gear Icon at the bottom left of the sidebar, look for Page Layout, and switch it to Elementor Canvas. For a standard homepage, leave it as Elementor Full Width.
Phase 2: Create the Hero Section
- Click the magenta (+) plus icon in the live preview area to add a new section.
- Select a Two-Column Layout.
- Click on the Section edit handle (the six dots at the top of the blue border). In the left sidebar, under Layout, set the Minimum Height to
600px. This gives your header breathing room. Go to the Style tab, choose Background Type: Classic, and add a soft background color or a subtle background image.
Phase 3: Add the Heading and Text
- Go back to your Elements panel by clicking the grid icon at the top right of the sidebar.
- Drag a Heading Widget into the left column.
- In the Content tab, type your primary value proposition: “Scale Your Digital Business With Expert Strategies.” Change the HTML tag to
H1. - Go to the Style tab, click the Typography pencil icon, set the font family to a clean sans-serif like Poppins or Inter, and set the font size to
48px. - Drag a Text Editor Widget directly beneath that heading. Type a clear, brief sub-headline explaining what your site does.
Phase 4: Add a Call-to-Action (CTA) Button
- Drag a Button Widget beneath your text block.
- Under the Content tab, change the text to “Get Started Now” or “Explore Our Services”.
- Insert your target URL path into the Link field.
- In the Style tab, give the button a prominent, contrasting background color (like a vibrant blue or orange). Set a smooth hover text animation effect so users know it is fully interactive.
Phase 5: Add a Visual Image
- Drag an Image Widget into the right-hand column.
- Click the image placeholder in the sidebar to open your WordPress Media Library.
- Upload a clean vector graphic, a product screenshot, or an engaging mock-up. Ensure your image files are properly optimized to maintain rapid loading speeds.
Step 4: Making Your Website Mobile-Responsive
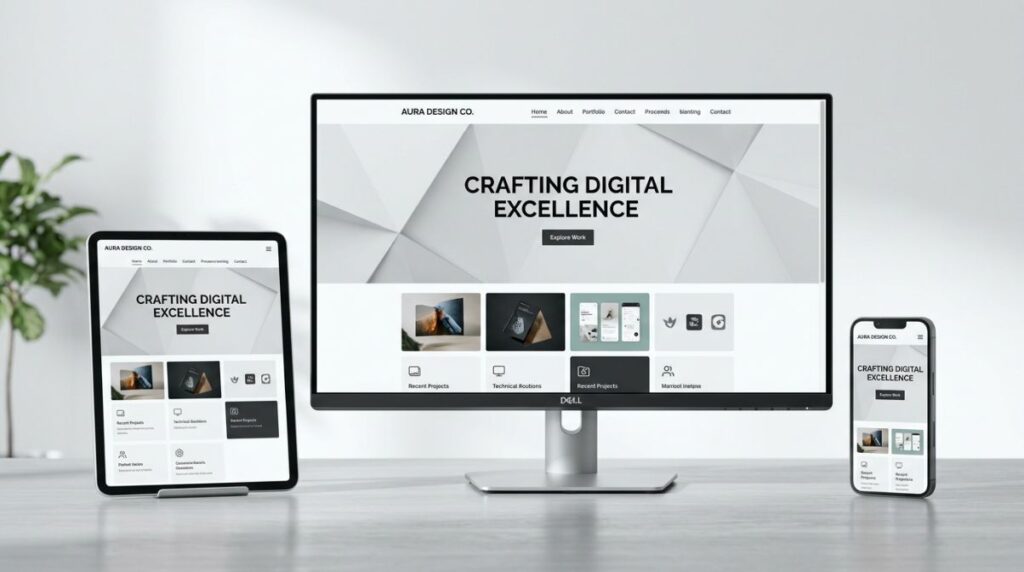
No elementor beginner tutorial is complete without discussing mobile optimization. A common rookie mistake is designing a gorgeous desktop experience that looks completely broken on mobile devices.
Utilizing Elementor’s Responsive Editing Tools
At the very bottom of the left sidebar panel, click on the Responsive Mode icon (which looks like a mobile phone and computer monitor icon overlapping). A top bar will appear, allowing you to seamlessly toggle between Desktop, Tablet, and Mobile viewports.
When editing in mobile view:
- Independent Styling: Look for the small mobile icon next to settings like Typography Size, Alignment, Padding, and Margin. Any adjustments you make while that icon is active will only apply to mobile layouts.
- Adjusting Column Widths: On a desktop, your hero section columns are split 50/50 side-by-side. On mobile, they stack vertically, often making elements look cramped. Click on the mobile column handle, go to the Layout tab, and change the Column Width to 100% to give each section proper layout spacing.
- Hiding Elements: If a massive image banner slows down mobile load speeds, click the element, navigate to Advanced > Responsive, and toggle Hide on Mobile.
Elementor Free vs Elementor Pro: Which One Do You Need?
The free core version of Elementor is exceptionally powerful for basic content styling, but it leaves you restricted to your default theme’s static template architecture. Upgrading to Elementor Pro completely removes these design roadblocks.
Here is a detailed comparison of how the two tiers stack up for professional creators:
| Feature Category | Elementor Free Version | Elementor Pro Version |
|---|---|---|
| Core Layout Elements | 30+ Basic Widgets (Text, Image, Button, Video, Spacer) | 90+ Advanced Widgets (Portfolios, Animated Headlines, Pricelists) |
| Global Theme Building | Restricted to standard theme headers, footers, and archive pages | Complete Theme Builder: Design custom Headers, Footers, Single Posts, and 404 pages |
| Form Generation | Requires third-party form plugins (WPForms, Contact Form 7) | Native Form Builder: Create multi-step contact capture forms, login states, and webhooks |
| E-Commerce Integration | Basic WooCommerce support via standard theme frameworks | WooCommerce Builder: Visually redesign Product Pages, Cart Layouts, and Checkout Systems |
| Marketing Extensions | No native marketing automation popups or slider assets | Popup Builder: Trigger exit-intent subscription boxes and slide-ins directly mapped to user actions |
| Custom Code Injection | Requires manual file modifications or third-party code plugins | Add Google Analytics scripts or custom global CSS snippets directly in the builder panel |
Conclusion

Mastering Elementor is all about understanding structural hierarchy and refining design principles over time. By combining structured layout grids with responsive optimization, you can create websites that look incredible and load blazingly fast.
Now that you have a solid grasp of the layout mechanics, focus your efforts on producing high-quality content and building clean, accessible web layouts.We hope this elementor beginner tutorial helped you build your website.
By following this comprehensive elementor beginner tutorial, you now have the fundamental layout skills needed to design clean, high-converting web assets confidently.
Frequently Asked Questions (FAQs)
Q1. Is Elementor good for beginners who don’t know code?
Ans: Yes, Elementor is purpose-built for non-coders. Its drag-and-drop workflow allows you to design high-converting landing pages and websites visually, handling all the complex code generation behind the scenes. This makes any structured elementor beginner tutorial easy to follow for newcomers.
Q2. Does Elementor slow down your WordPress website?
Ans: Elementor itself is highly optimized. Performance drops usually stem from unoptimized external assets. By pairing your builder with a fast host, using lightweight base themes, implementing structured caching tools like LiteSpeed Cache, and compressing imagery, your platform can consistently achieve top performance tiers.
Q3. Can I change my theme after building pages with Elementor?
Ans: Yes, you can swap your underlying theme. Because Elementor stores layouts independently within your page content database records, your main visual architecture will remain intact even if you switch themes. However, it is always safest to stick to optimized, minimal foundations like Hello Elementor or Astra to avoid layout inconsistencies.
Q4. Is the free version enough, or do I need an Elementor beginner tutorial for Pro features?
Ans: The free version is excellent for basic content layouts and blog styling. However, if you want complete control over your entire site—including custom headers, footers, dynamic archive pages, and native marketing forms—upgrading to Elementor Pro is highly recommended to unlock its full developer toolkit.
Q5. Where can I find a complete elementor beginner tutorial to build a store?
Ans: Right here! This comprehensive elementor beginner tutorial provides the exact structural layout rules, section setups, and responsive design methods needed to confidently construct anything from a standard digital marketing hub to a fully optimized WooCommerce e-commerce storefront.